1. Row, Column 안에서 고정값 말고, 비율로 박스를 채우고 싶다?
- 1-1. Flexible()로 하는 방법
- 1-2. Expanded()로 하는 방법
2. 박스 디자인했는데 의도와 다르다?
3. 당근 숙제 코딩애플이 푼 방법!!
4. 오늘 배운 Expanded()를 적용해서 반응형처럼 못했던 부분 바꿔주기!!!
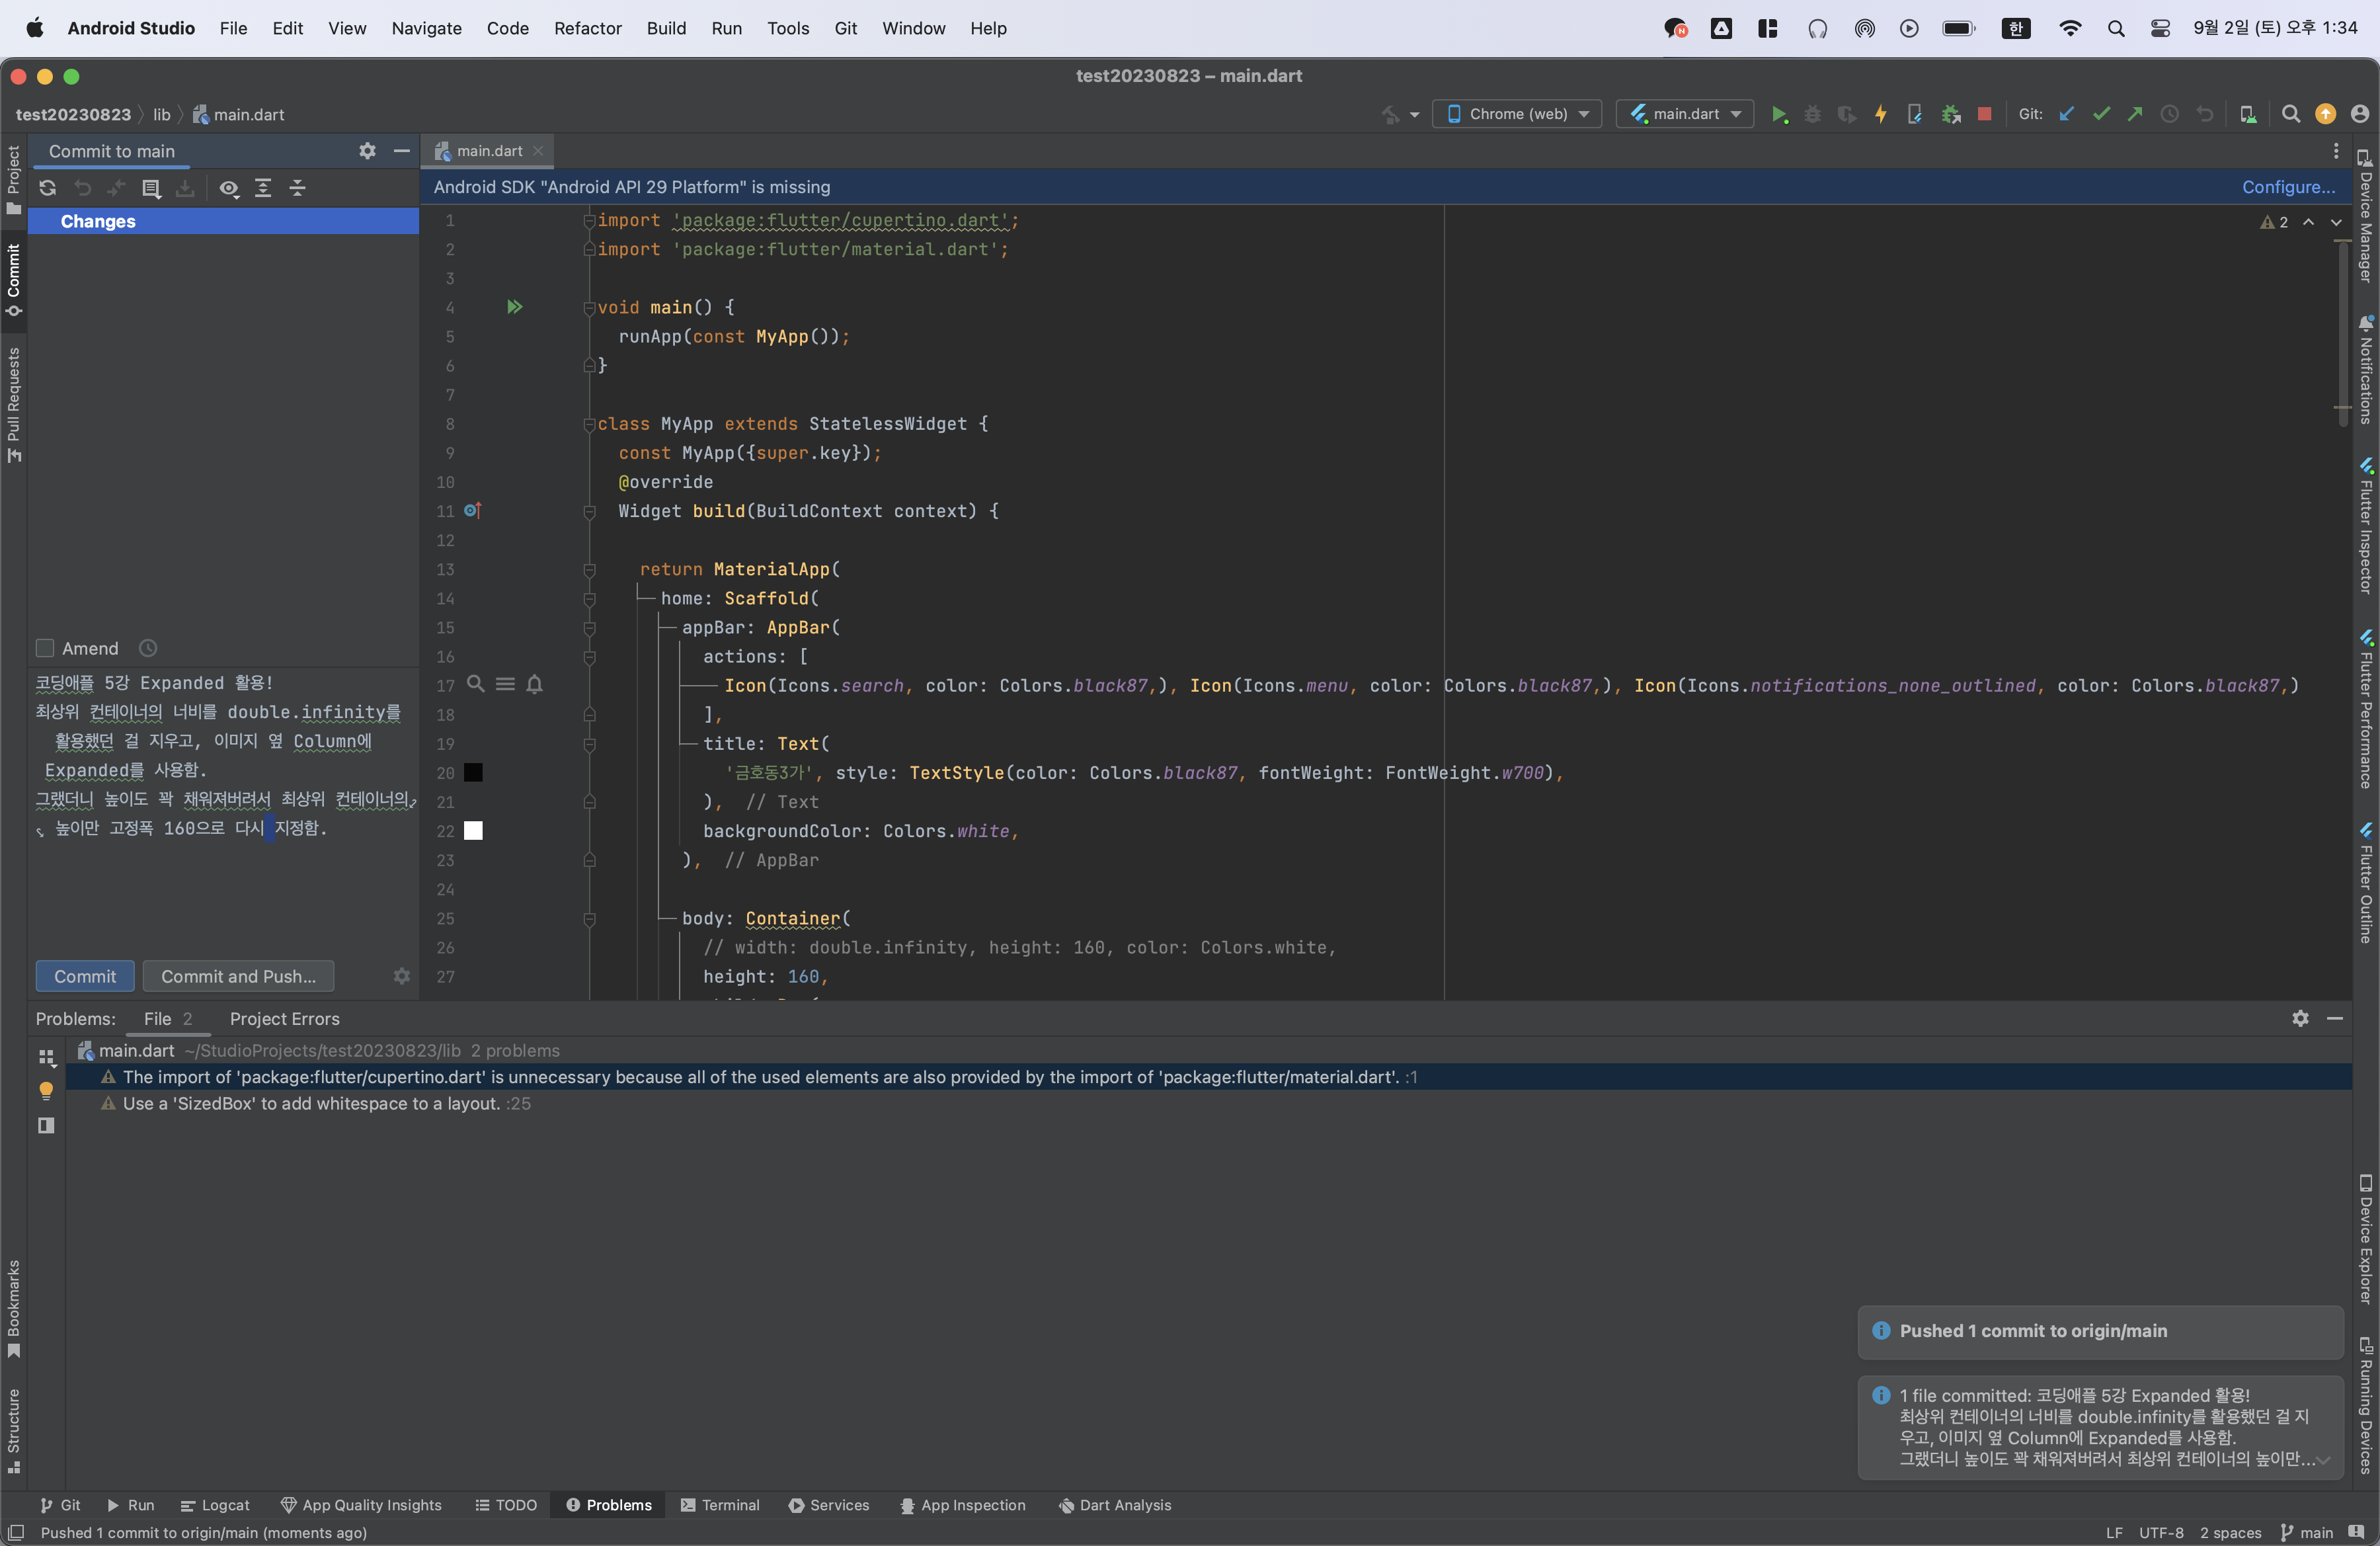
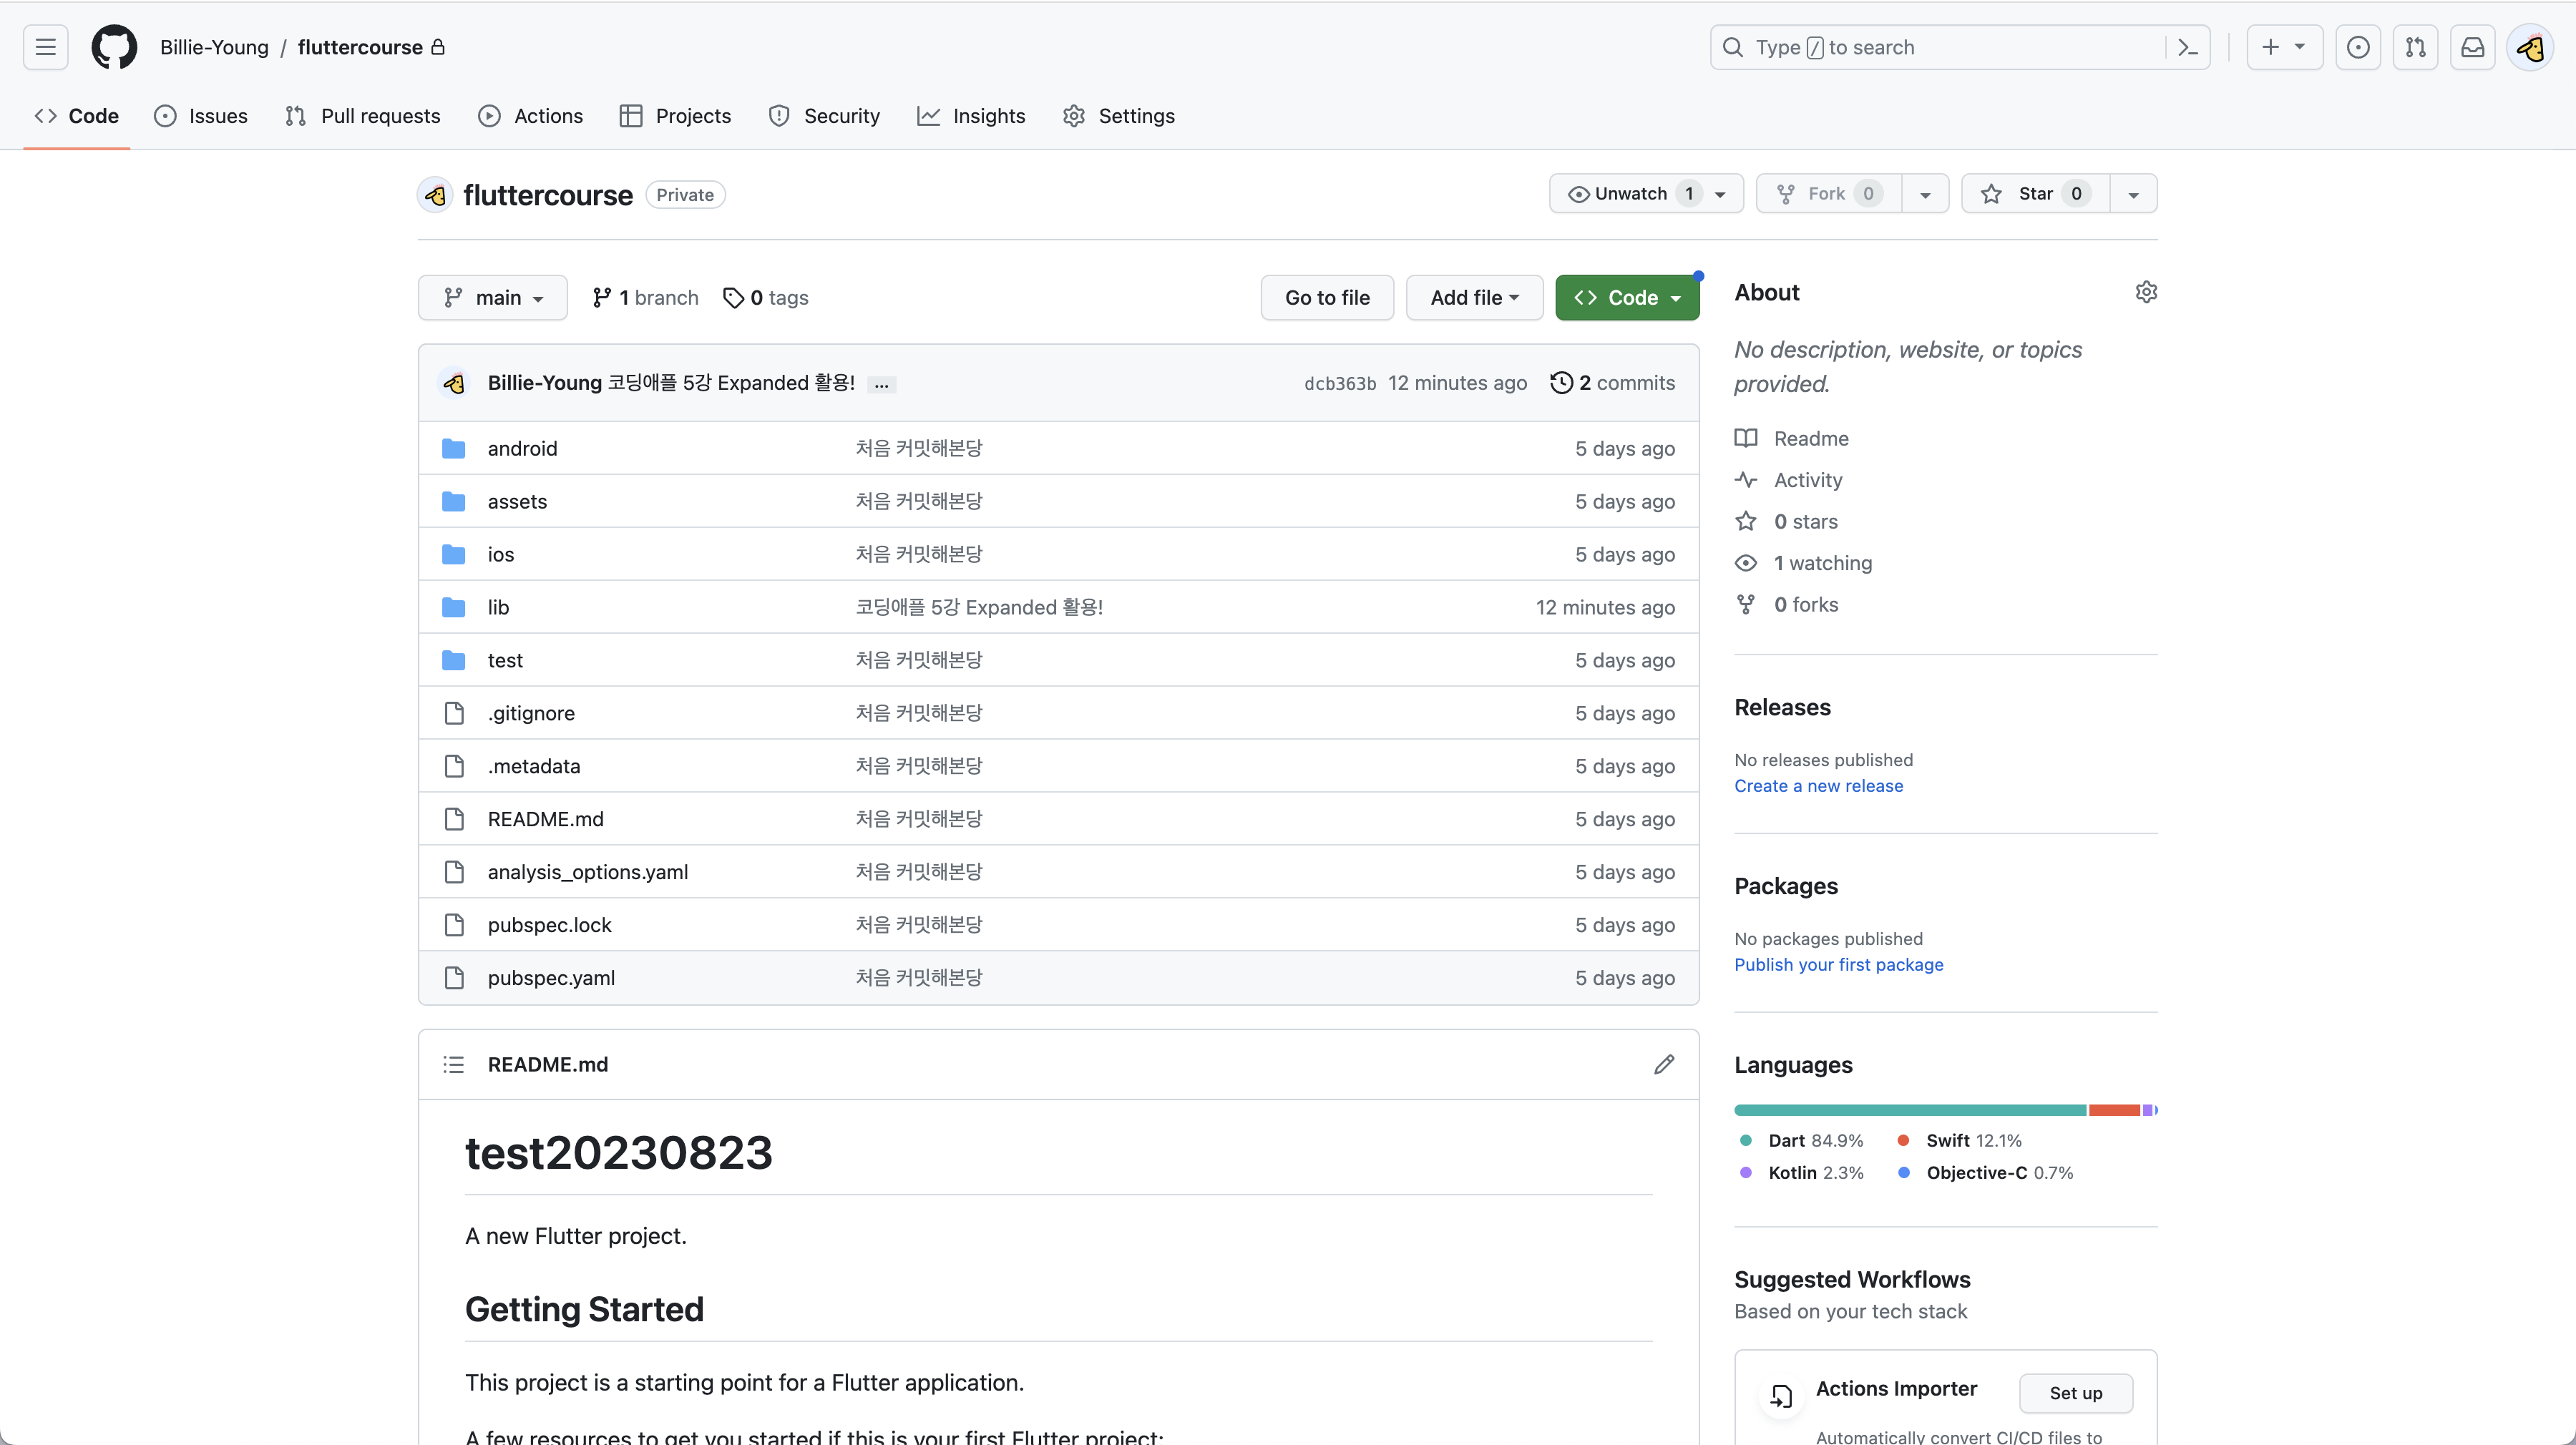
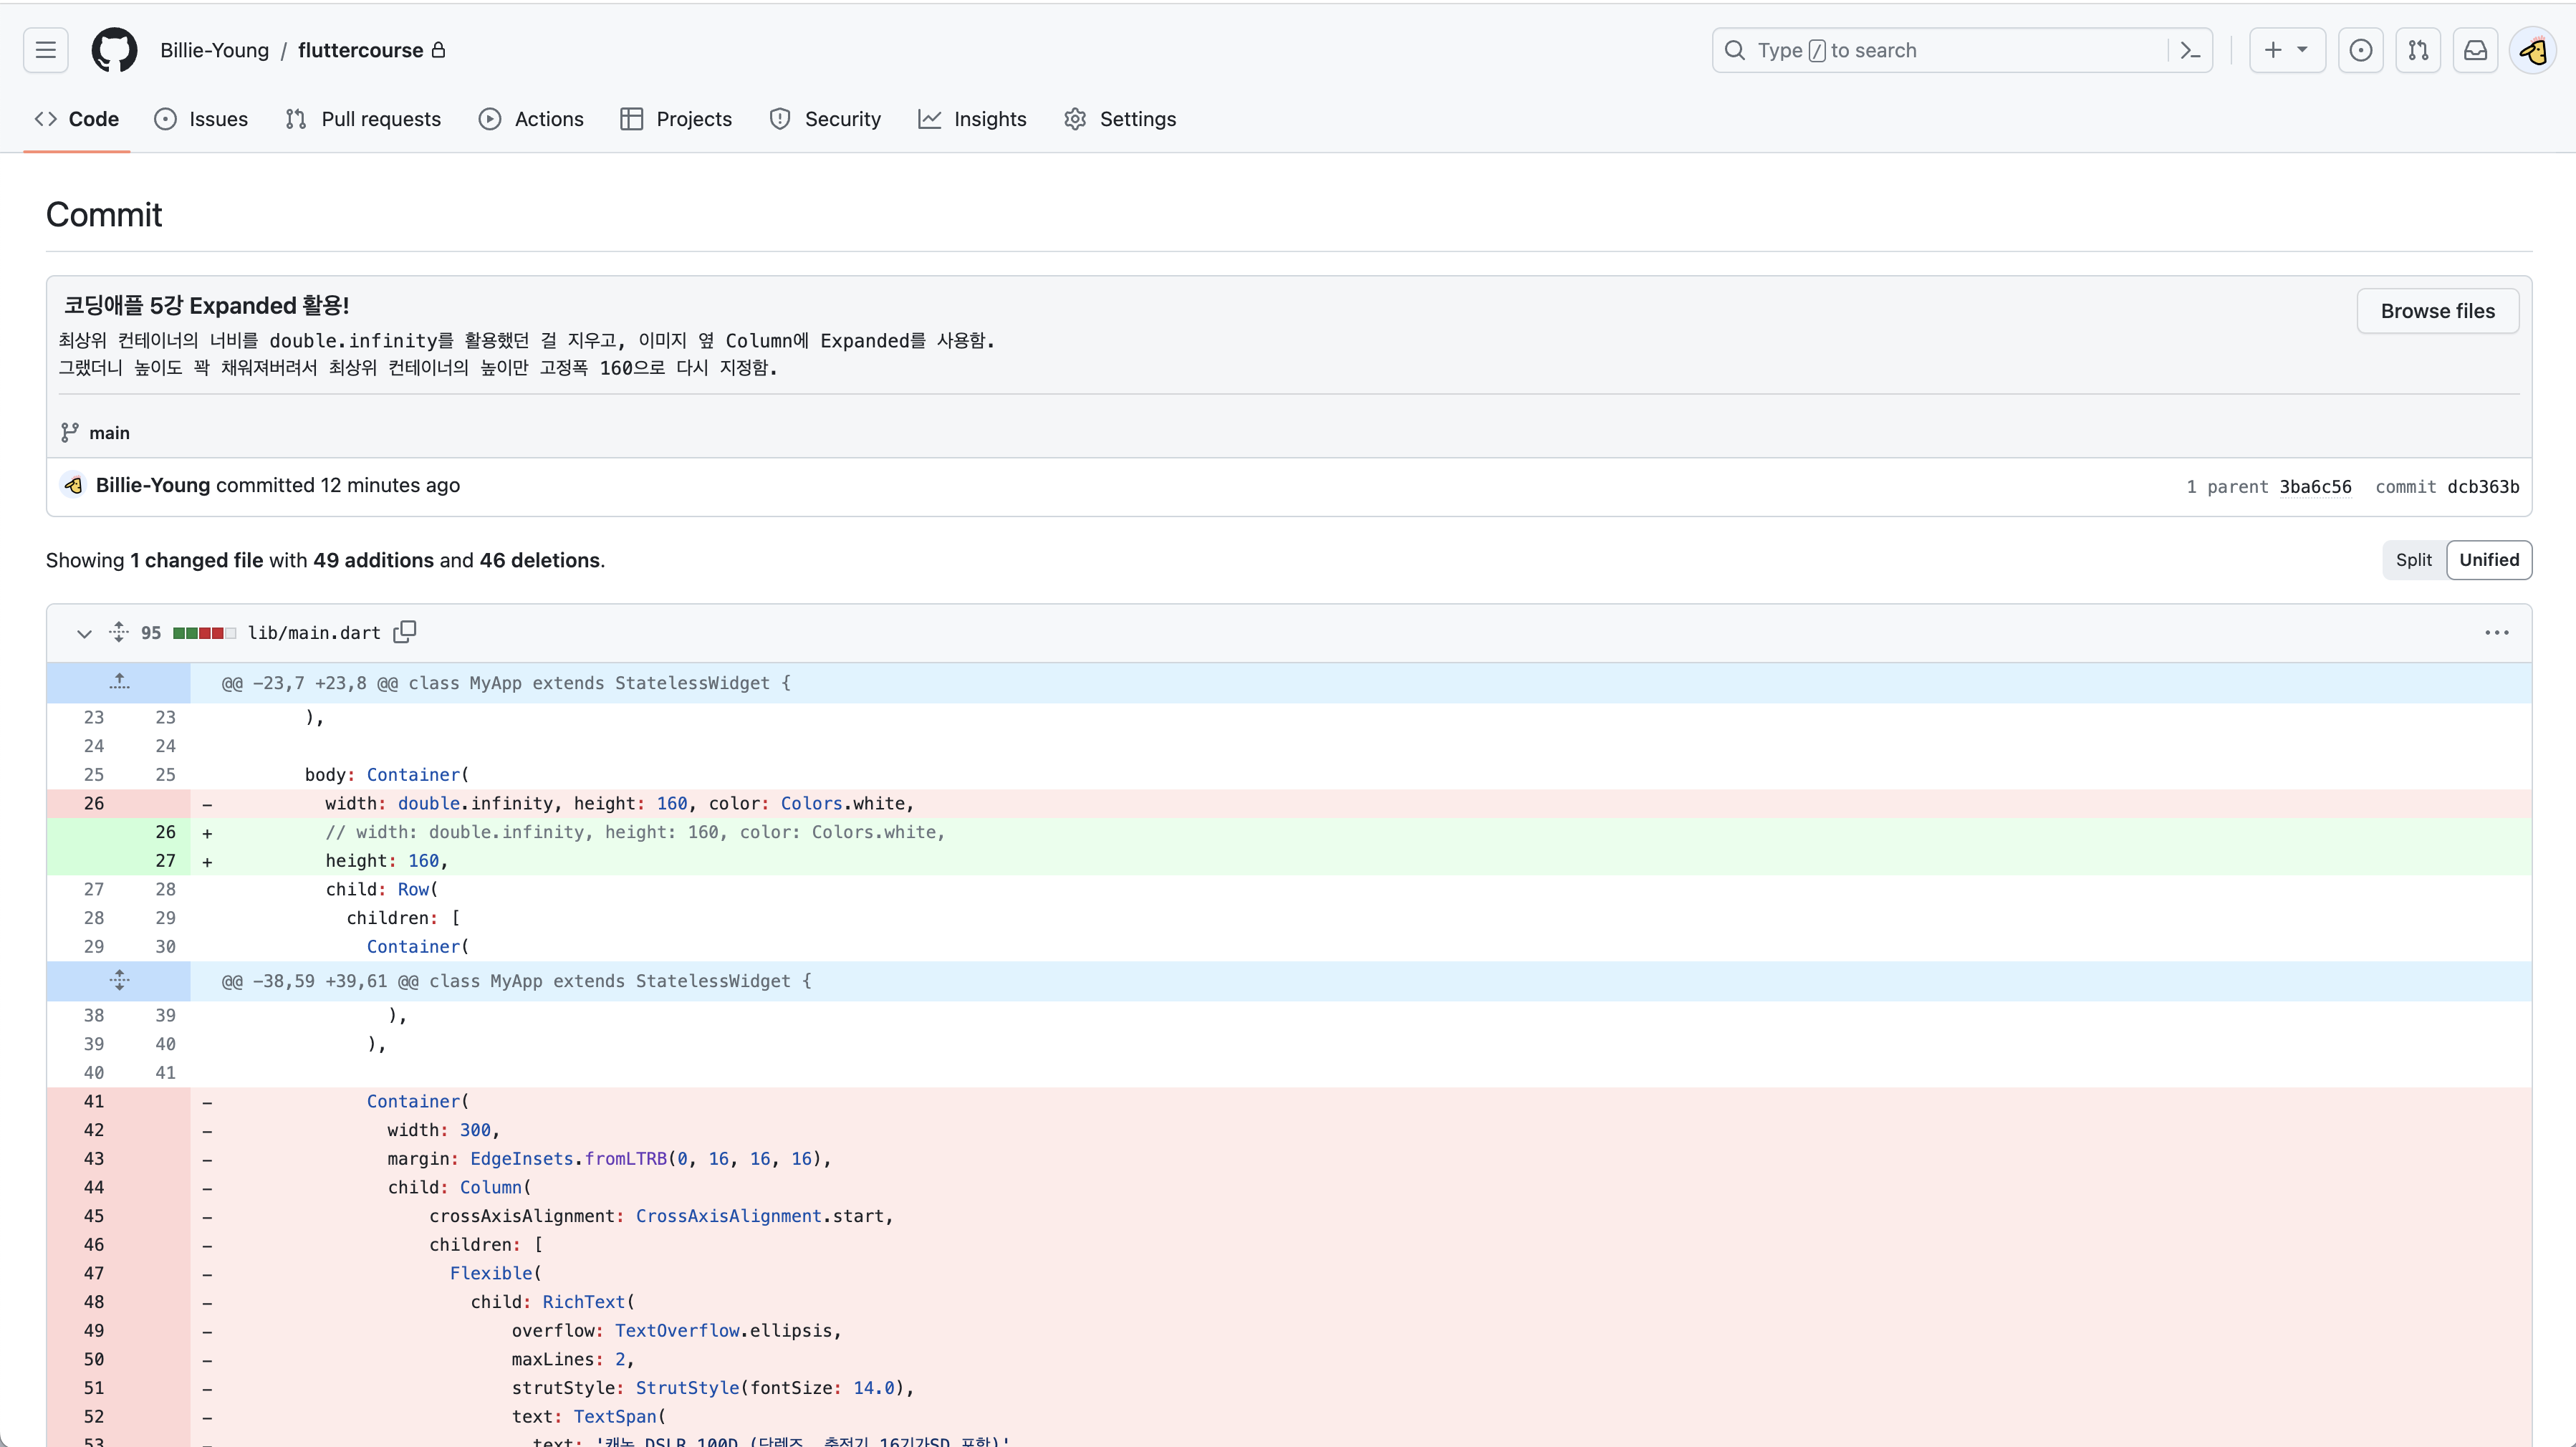
5. 잊지 않고 Github에 Commit and Push!
1. Row, Column 안에서 고정값 말고, 비율로 박스를 채우고 싶다?
Container(width: 50%), 같은 짓은 하지 말자,,,
1-1. Flexible()로 하는 방법
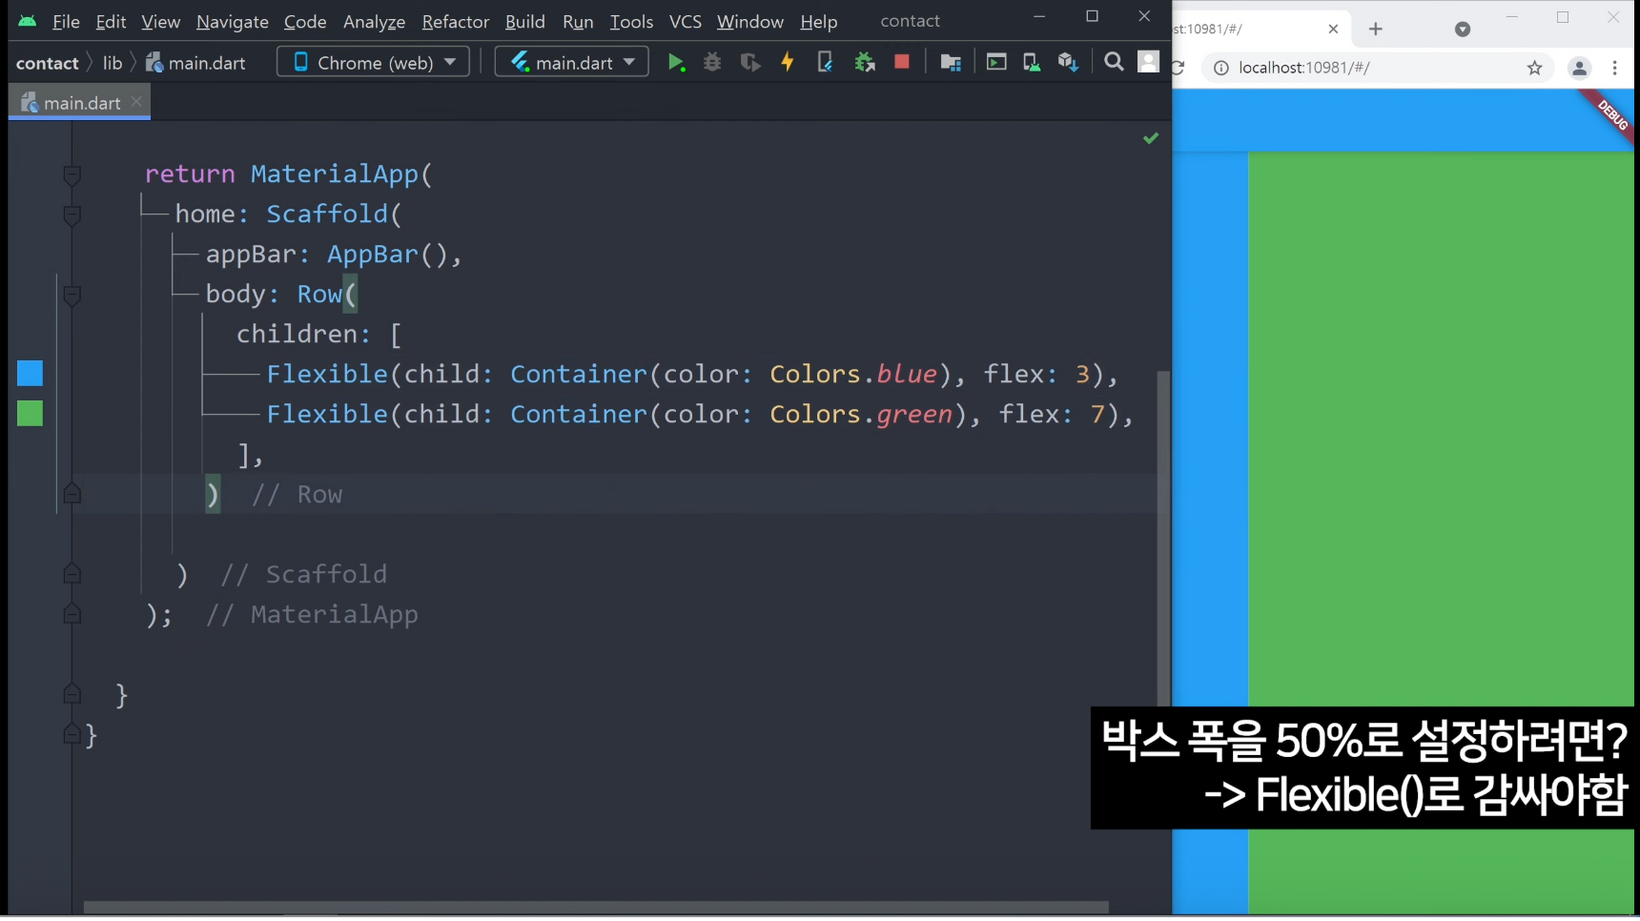
body: Row(
	children: [
		Flexible(child: Container(color: Colors.blue), flex: 3),
		Flexible(child: Container(color: Colors.green), flex: 7),
	],
) // Row- flex: N = 파라미터 뒤에 '배수'를 넣어주면 됨
- 위는 3:7 비율(= 30%, 70%)로 박스를 넣어주는 코드임!
1-2. Expanded()로 하는 방법
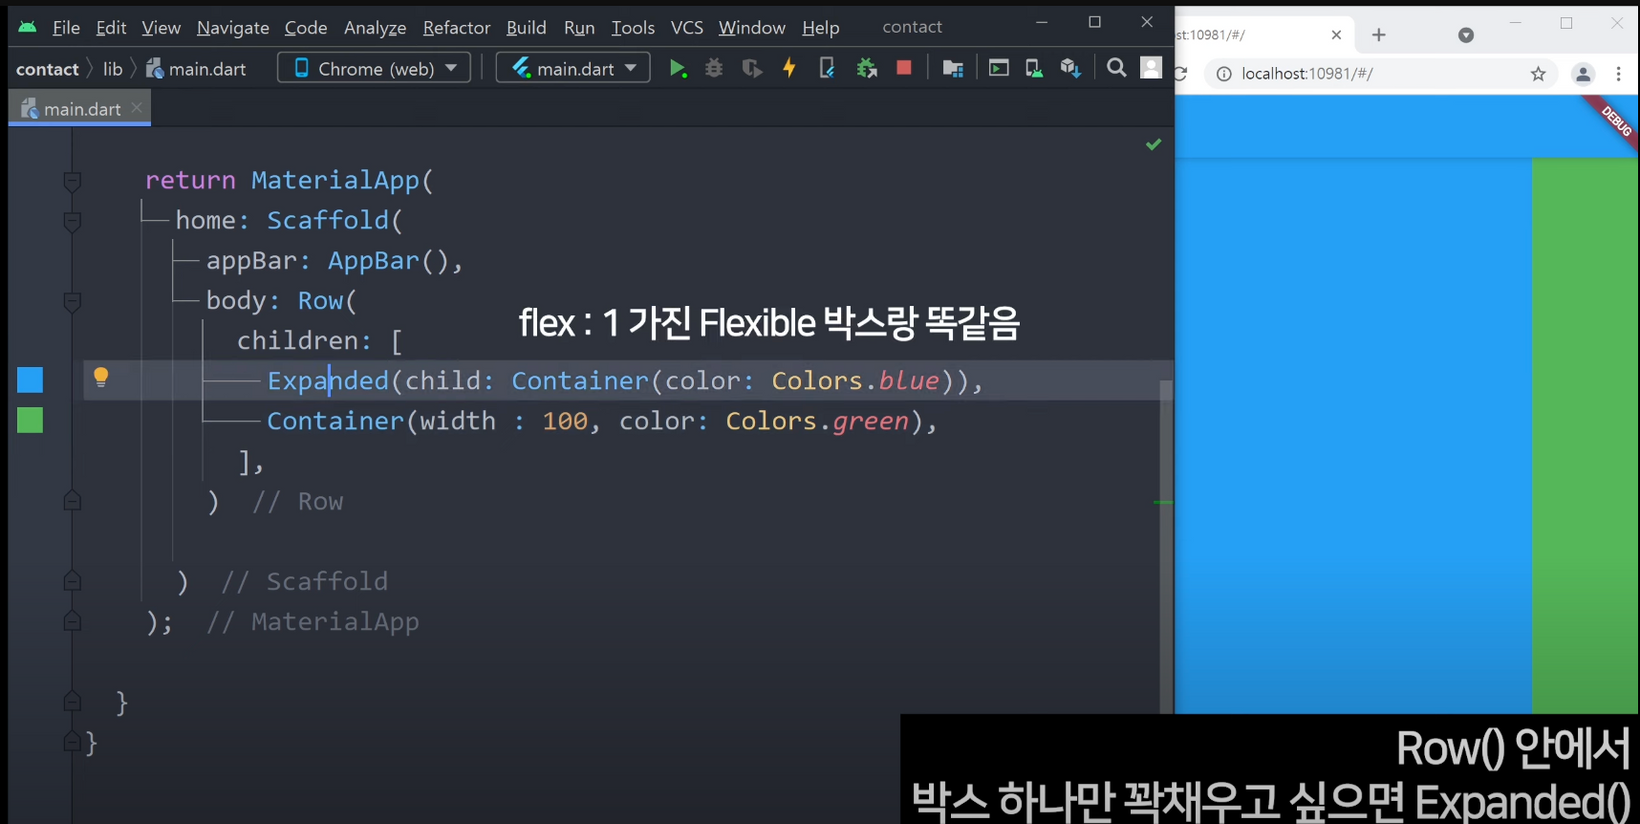
body: Row(
	children: [
		Expanded(child: Container(color: Colors.blue)),
		Container(width : 100, color: Colors.green)),
	],
) // Row- Flexible()로 하기 귀찮을 때 쓸 수 있는 문법
- Row()나 Column() 안에서 박스 1개만 꽉 채우고 싶으면 Expanded() 쓰면 됨
- 본인만 flex: 1 있으면 본인만 커짐
결론!!!!
박스 폭을 %로 하고 싶으면 Flexible()
박스 1개를 넓게 채우고 싶으면 Expanded()
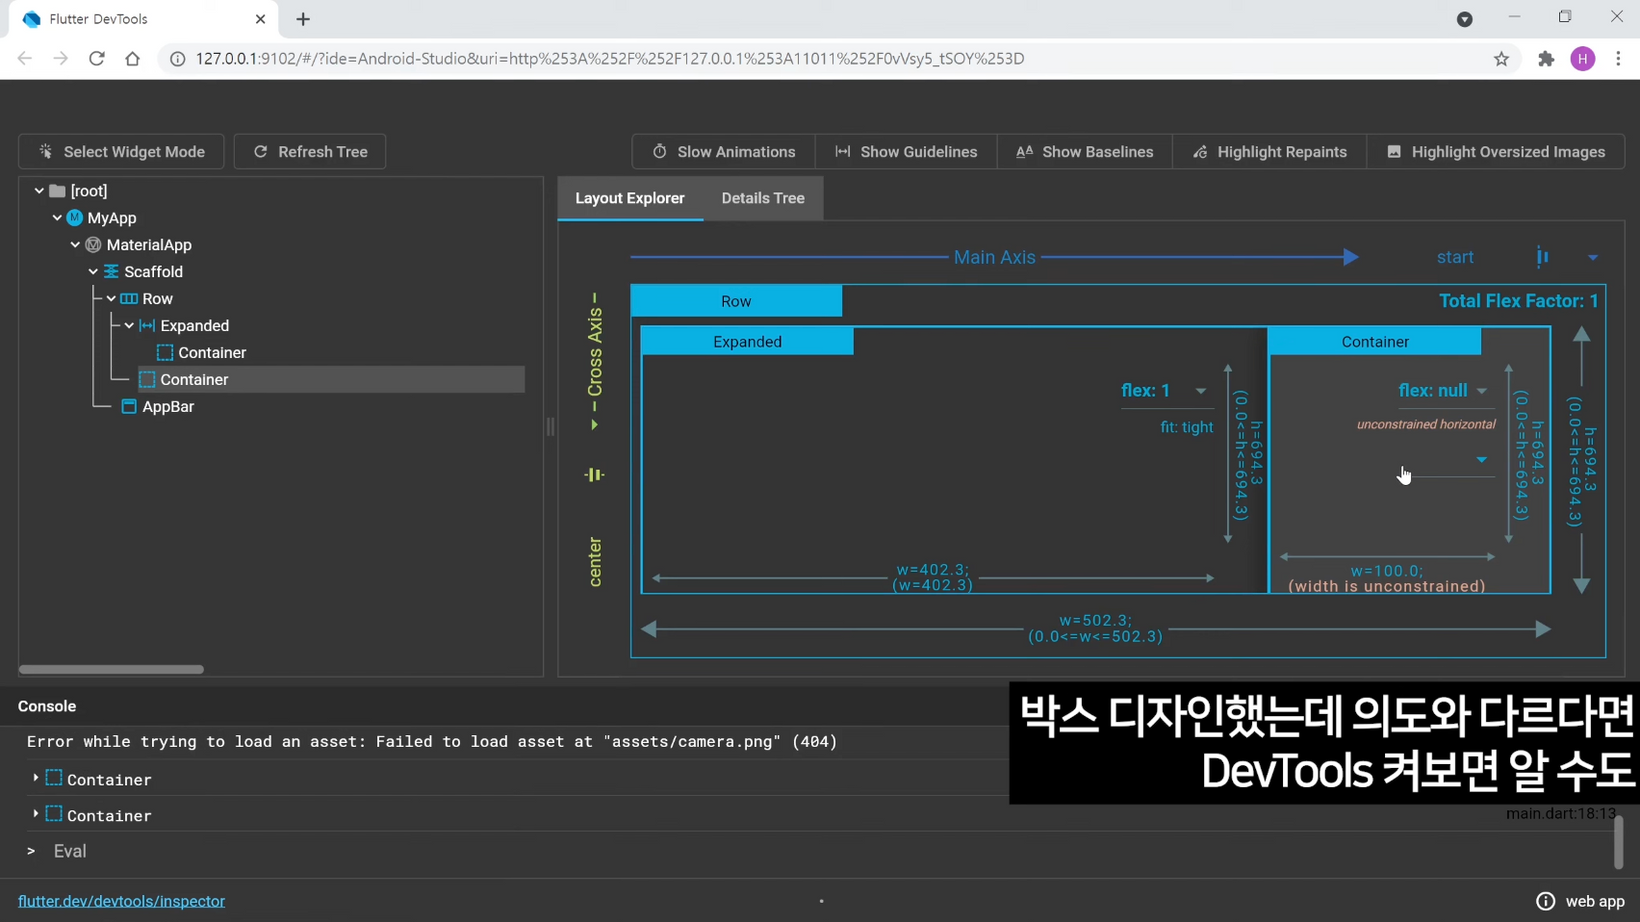
2. 박스 디자인했는데 의도와 다르다?
- 사이즈가 이상해서 그럼
- 박스 위치(position)이 이상해서 그럼
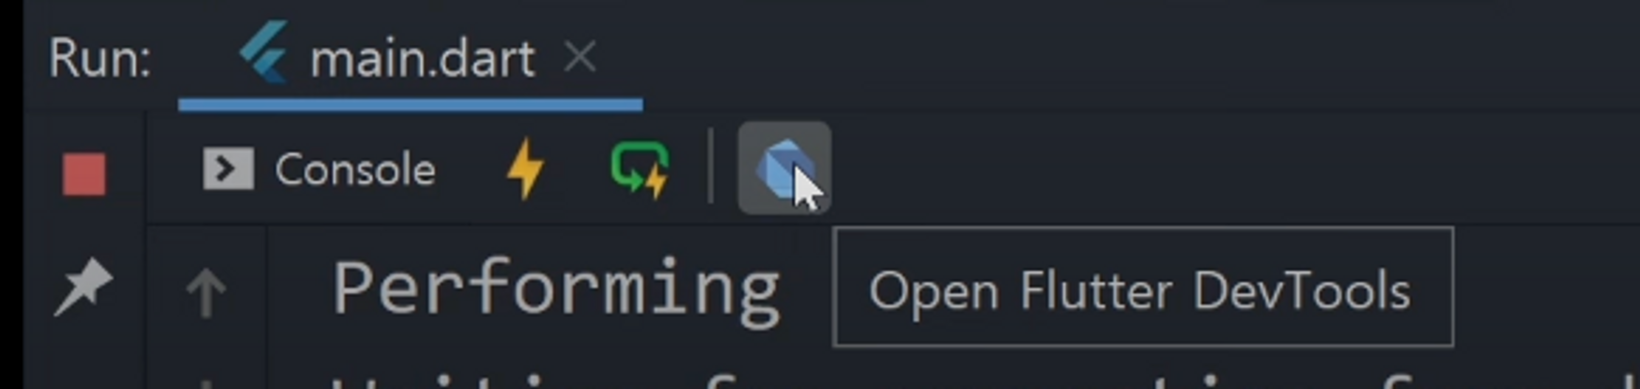
- 그래도 안보이면 DevTools 켜보면 알 수도?
- 미리보기 띄우면 밑에 생기는 Console > Open Flutter DevTools
- Command + 4 눌러도 열림
3. 당근 숙제 코딩애플이 푼 방법!!
return MaterialApp(
	home: Scaffold(
		appBar: AppBar(
		), // AppBar

		body: Container(
			height: 150,
			padding: EdgeInsets.all(10),
			child: Row(
				children: [
					Image.asset('camera.jpg', width: 150,),
					Container(
						width: 300, -> 정수 말고 오늘 배웠던 Flexible이나 Expanded 써보셈!
						child: Column(
							crossAxisAlignment: CrossAxisAlignent.start,
							children[
								Text('카메라팝니다', style: TextStyle(), ... ),
								Text('금호동 3가'),
								Text('7000원'),
								Row(
									mainAxisAlignment: MainAxisAlignment.end,
									children: [
									Icon(Icons.favorite),
									Text('4'),
									]
								) // Row
							],
						), // Column
					) // Container
				],
			), // Row
		), // Container

	), // Scaffold
); // MaterialApp
나는 최상위 Container의 width를 doblue.infinity로 해서 해결했었는데,
코딩애플은 오늘 가르쳐준 Flexible, Expanded 써보라고 해서 다시 해봄.
4. 오늘 배운 Expanded()를 적용해서 반응형처럼 못했던 부분 바꿔주기!!!
최상위 컨테이너의 width를 double.infinity 활용했었는데 이걸 지웠고
이미지 옆 Column에 Expanded()를 사용
(그래서 컬럼 안에 있던 기존 Container를 다시 child로 묶어줘야 했음)
그랬더니 세로 높이도 꽉 차게 되어 버려서, 최상위 컨테이너로 돌아가 height: 160을 다시 지정함
return MaterialApp(
      home: Scaffold(
        appBar: AppBar(
          actions: [
            Icon(Icons.search, color: Colors.black87,), Icon(Icons.menu, color: Colors.black87,), Icon(Icons.notifications_none_outlined, color: Colors.black87,)
          ],
          title: Text(
            '금호동3가', style: TextStyle(color: Colors.black87, fontWeight: FontWeight.w700),
          ),
          backgroundColor: Colors.white,
        ),

        body: Container(
          // width: double.infinity, height: 160, color: Colors.white,
          height: 160,
          child: Row(
            children: [
              Container(
                width: 128,
                height: 128,
                margin: EdgeInsets.all(16),
                decoration: BoxDecoration(
                  image: DecorationImage(
                    image: AssetImage('assets/fan2.png'),
                  ),
                  borderRadius: BorderRadius.circular(8),
                ),
              ),

              Expanded(
                  child: Container(
                    color: Colors.white,
                    margin: EdgeInsets.fromLTRB(0, 16, 16, 16),
                    child: Column(
                      crossAxisAlignment: CrossAxisAlignment.start,
                      children: [
                        Flexible(
                          child: RichText(
                              overflow: TextOverflow.ellipsis,
                              maxLines: 2,
                              strutStyle: StrutStyle(fontSize: 14.0),
                              text: TextSpan(
                                text: '캐논 DSLR 100D (단렌즈, 충전기 16기가SD 포함)',
                                style: TextStyle(fontWeight: FontWeight.w700, fontSize: 18)
                                  ),
                              )
                        ),
                              SizedBox(height: 8,),
                              Text(
                                '성동구 행당동 · 끌올 10분 전',
                                style: TextStyle(
                                    color: Colors.grey,
                                    fontSize: 12
                                ),
                              ),
                              SizedBox(height: 8,),
                              Text(
                                  '210,000원',
                                style: TextStyle(
                                  fontWeight: FontWeight.w700,
                                  fontSize: 16
                                ),
                              ),
                              Row(
                                mainAxisAlignment: MainAxisAlignment.end,
                                children: [
                                  Icon(
                                  Icons.favorite_border,
                                  color: Colors.grey,
                                  size: 16
                                  ),
                                  Text(
                                  '4',
                                  style: TextStyle(
                                  color: Colors.grey,
                                  fontSize: 14
                                  ),
                                ),
                              ],
                            )
                  ]
                ),
              ),
              )
            ]
          ),
        ),
      ),
    );
  }
}
이제 반응형처럼 텍스트가 2줄 되었다가 1줄 되었다가 변하는 게 된다!!! 히히힉ㅎ긱힉힣ㄱ힉힉ㅎ!!!
5. 잊지 않고 Github에 Commit and Push!
덧,,,
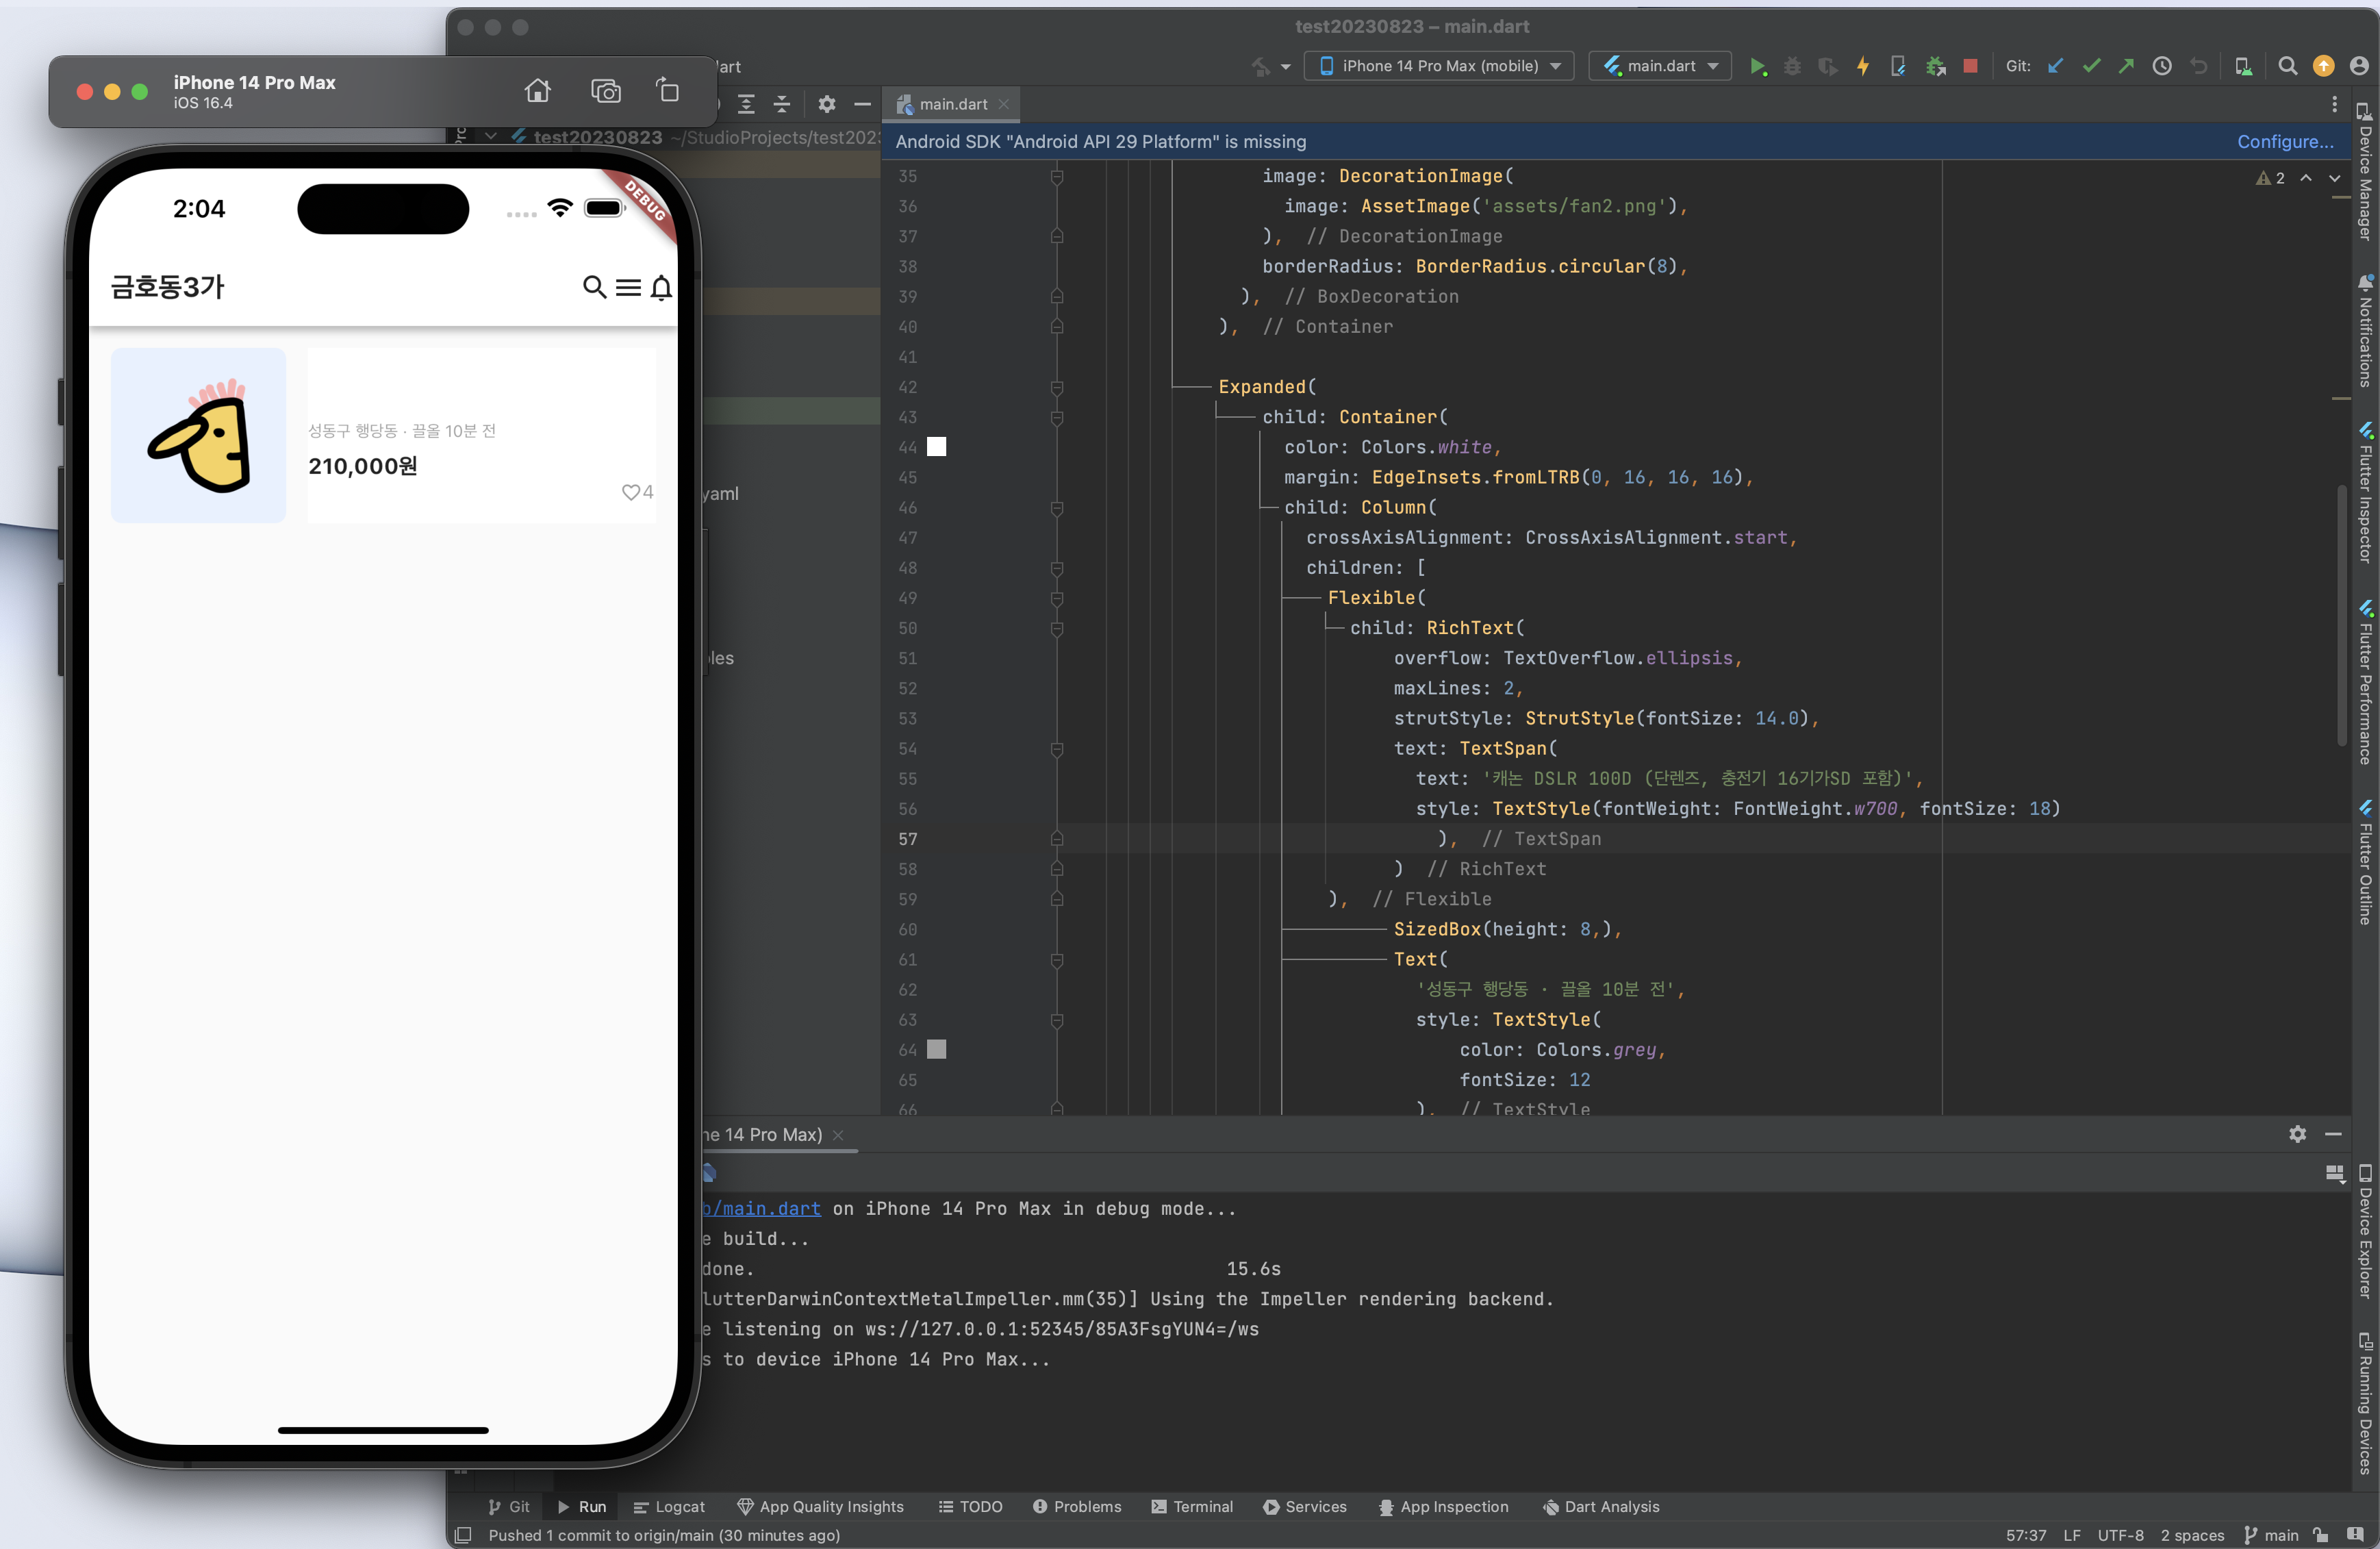
iOS Simulator로 돌려보면 메인 타이틀이 뜨지 않는다. ㅇㅅㅇ... 왤까...!!!!!!!
뭐가 잘못됐을가,,,,,,,
정답을 알려줘 ,,
반응형
'🧑💻 Flutter 공부' 카테고리의 다른 글
| 커스텀 위젯과 ListView() 위젯 사용 방법! (0) | 2023.09.05 |
|---|---|
| 개발자 W님의 도움을 받아 안되던 것 해결 + 단축키 특강 ⌨️ (0) | 2023.09.04 |
| 숙제) 당근마켓 UI 따라해보기 - 진짜 머리털 다 빠지겠다 (3) | 2023.08.26 |
| 텍스트스타일, AppBar! (1) | 2023.08.25 |
| 📦박스📦 잘 그려야 앱 잘 만든다!!!! (0) | 2023.08.25 |